13 May 2013

DIY gold painted mug


So this feels like a bit of a cheeky DIY because really it is very easy!
I needed some procrastination craft and saw some lovely gold painted porcelain all over pinterest so went to try and make my own.

You will need: 
A plain white mug. I picked mine up from the supermarket for about £2.00
A Gold paint pen or permanent marker. I used a uni paint marker in gold.
A sunny afternoon and some good music.


I decorated my mug outside just because the paint pen is quite smelly!
Really there isn't anything scientific or technical about this. I just drew what I thought would look nice- spots and geometric shapes.


The paint pen works well and gives it a nice shine. It also dried super fast.
I wanted to add some words to my mug so wrote this on one side...

and this on the other...

I also decorated the handle in stripes. So simple but it looks effective. Just experiment and play around.


I dont' really know how safe the mug would be to drink out of so I have used mine to hold flowers.


I guess if you wanted the porcelain to be useable I would bake it in the oven for an hour or so to set the paint. I didn't do this and the paint is waterproof and doesn't chip so success all round!


I think this would make such a fun gift. Flowers look lovely but you could fill it with kitchen utensils and give it as a housewarming gift or fill with sweet treats for children. And who says you have to stick with mugs? Vases, plates and butter dishes could all look sweet with a little bit of paint!

10 May 2013

Onwards and Upwards blog hop

Today I am joining in with the lovely Jennifer on her "onwards and upwards" themed blog hop. 


Hopes and Dreams.
When Jennifer gave the brief for the blog hope one of the things she suggested was hopes and dreams. 
I liked the sound of that because to be honest I have a lot of hopes, some are pretty rational and I hope fairly achievable. 
But some of my hopes and dreams are just plain fun and I thought it would be great to compile them into a list because you never know, one day one of these pipe dreams may just come true!


I would like to some day design a fabric line. In an ideal world for Cath Kidston (or is it just cath who designs them? who knows!) 

Open a craft store. With cake and lots of tea and a big table where we can craft together. 

Create a camera app. 

Earn money from blogging. I know. Pipe dreams I tell you! 

Write a book. I can't decide whether I am dreaming of being a novelist or making a craft book. 

Live in New York for a year. (This is a thoroughly romantic ideal because the truth of the matter is, I don't like big cities.) 

Make a piece of furniture from scratch. 

Go on a spontaneous holiday.

Do the artwork for an album recorded by a friend. 

Learn how to computer code and design my own website. 

Sell something on etsy. 

Become proficient at ballet. 

Learn how to cable knit. 

Renovate something. ( a building possibly not, but furniture maybe!) 

What are your fun pipe dreams? Or dreams that could be become a reality? 

Thank you for asking me to join in Jennifer! 

So this is the fun part...Jennifer is offering a chance to win a prize pack of scrapbooking goodies (Glitz Designs Color Me Happy and Simple Stories 24/7) if you comment on each of the blogs on the blog hop. Simply leave a comment and then head back to Jennifer's blog to let her know you have been all the way round. 

There is so much fun stuff going on over on her blog in the next few days so make sure you pop by and have a look. I am the last on the blog hop so click here to head back to Jennifer or start again if you are lost and confused! 


8 May 2013

Project Life week 18

First up, thank you so much for your kind words about sweet Emmy cat. 

On a happier note, here is Project Life week 18. 


Photos:
Except the blurred pins photo, all of the photos on this weeks spread are instagram photos. I read an interesting article today which was quite critical of instagram. Although there was lots in it that I agree with, I am still grateful for the ease of the app and its convenience. I mean this weeks project life spread would be pretty bare without it! I think I need to write a blog post about this! 

There were plenty of ice cream photos from this weekend. The sunny weather and revision breaks resulted in a lot of ice cream eaten! I also included photos of my weekend with the boy and those glorious blue skies this weekend. 

Journalling: 
There weren't too many stories this week so lots of little notes on photos instead. I did document how much I am enjoying the arrival of Spring and some thoughts about April. That photo of the shoes on the second page was just crying out for journalling so I wrote about my time with the boy. 


Techniques: 
Nothing too special this week to be honest. I added a paint effect background to that quote card to try and tie it in with the sea foam kit I am using. 

Anything else: 
This week was a fun challenge in that nearly all my pictures were taken in the space of the bank holiday weekend. I therefore used journalling on the first page to try and tell the story of the week. Generally I try and focus the left spread on the begging of the week and the right spread on the end of the week. Obviously this works in theory but not too often in practice! I try though! 


Still loving how this project is unfolding!

Sweet Emmy Cat

It's ironic that I read Amy's post only the other day about the sad loss of her dog and commented about how I had felt when our cat had appeared to go missing.


This is Emmy. She was the hunter of our two cats. She was the sort of cat that would only have cuddles if she chose to but when she did she wouldn't leave you alone. She would sit on your feet and warm them like a hot water bottle. We always called her the clever cat.

In the summer she went missing. For over a month. We assumed we had lost her for good before one day she turned up at our old house. Out of the blue she was back.

I spoke to Mum on the phone on Monday and just before we said goodbye she told me the sad news. That our sweet Emmy cat had been knocked over on the road. Thankfully she appeared not to have suffered but she had passed away.

I don't often talk about our pets on the blog but like Amy I didn't think it would feel like this. We knew we lived near a busy road and we knew that one of the cats being hit was a real possibility but still. I didn't think it would bring a lump to my throat the second time. The sweet cat really did use up all her nine lives and its hard to know that this time she won't come strolling in again.

Emmy cat. Very loved.


7 May 2013

Playlist

May, and the weather seems to have at last turned...just in time for exams.


This is what is hot at the moment:

Listening: 
Bastille are quite a popular band at the moment and their music is just great. This is one of my favourites from their album "bad blood".

Reading:
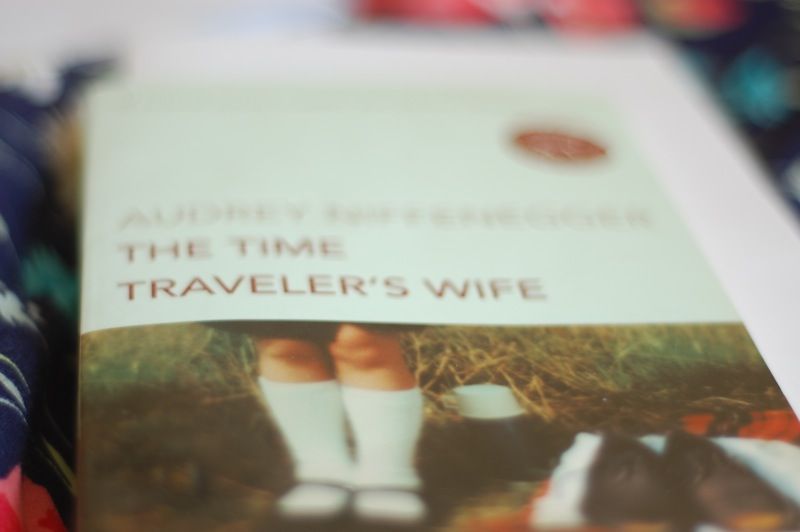
The time travellers wife. Again. It's a great book folks. Very well written, bit of a tear jerker. I need something I have read before when I have exams. It's the best way to switch off. If its a new read I will stay up too late trying to read too many chapters!


Planning:
Well who wouldn't be planning if you saw this selection of fabrics in John Lewis?


The truth of the matter is that the only planning happening around here at the moment is revision. Oh so sad but true.


Wearing:
I picked up these sweet  pumps for only £6.00 in New Look the other day. They are super comfy and they have polka dots! What is not to love! Thankfully we are out of the winter woolies but into the stage of "shall I bring a cardigan or not" type of weather. So lots of layering and turned up jeans going on over here. ( As said before, I am not a fashion blogger. I don't know how they do it!)


What are you reading, listening, planning or wearing this month?

5 May 2013

Storytelling Sunday- The face made of paint


This beautiful painting hangs above my desk at home.
It is big. Maybe A0 size.
It is painted on lovely watercolour paper with soft torn edges.
It is tacked to my wall with pins.
It is a painting of me.

This was a painting a friend of mine did for her art a-level. She took a photo of me with quite high contrast and then painted it using this effect. I think it is in response to another artist. She did this with eight other photos of different people in different colours and then arranged them in a massive grid.
It was beautiful and I always admired her talent.

At the end of the year when it was time to take the work down from the walls, she rolled her piece up and gave it to me.


I am so grateful that she did. I am honoured to not only have a painting from her but a custom work of me. The colours are wonderful and brighten up my room. If you look closely you can see where the different paints have run, some glossy, some matte. If you look even closer you can still see the pencil lines.

I like to have it above my desk because it reminds me of the kindness of my friend. I like the symbol of my face surrounded by colour and art. To me it represents that side of me that is creative.


One day I think I will get a big black frame for it and a large mount and have it permanently hanging in my house.

This painting is precious.

Today I am joining in with the lovely Sian and her Storytelling Sunday. Pop on over to visit other bloggers and read their stories about precious things.

3 May 2013

Four tips for using blurry photos

Instead of "around here" this month I want to share four quick ways I make the best out of those blurry photos. 
I have a lovely fixed 50mm lens. Whilst the depth of field is amazing, it's a manual focus lens which means that sometimes I get a crisp shot but more often get a bit of blur.
This used to irritate me but I am a student, I am practiced in making something go further ,so I tried different ways of making these blurred photos work for me.

1. Run it through an action. This is simply a pre made photo filter in photoshop.
Most of the time I don't run these actions at 100% but here is the key thing with a blurred photo. It is already imperfect therefore you can treat it with perhaps more artistic license than you would normally do!


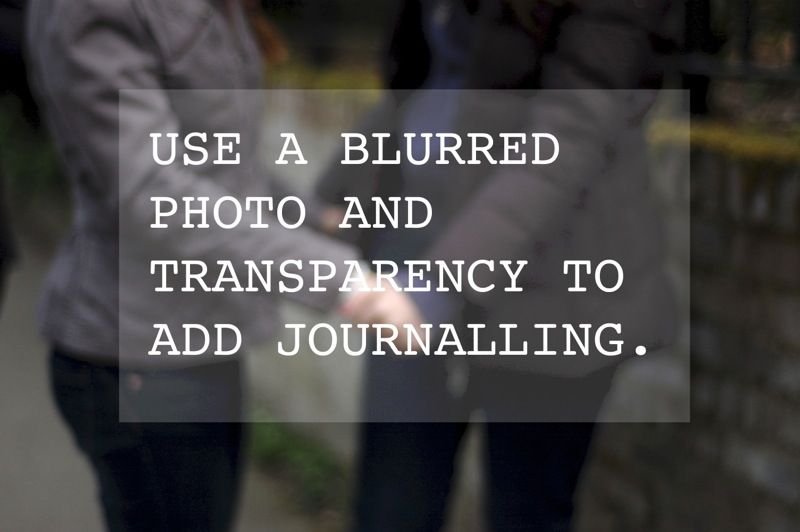
2. Use it as journalling card. A blurred picture can make the best background. On photoshop I drag a white rectangle to the middle of the photo and make it fairly transparent. I then go ahead and type. This could easily work with printed photos too.


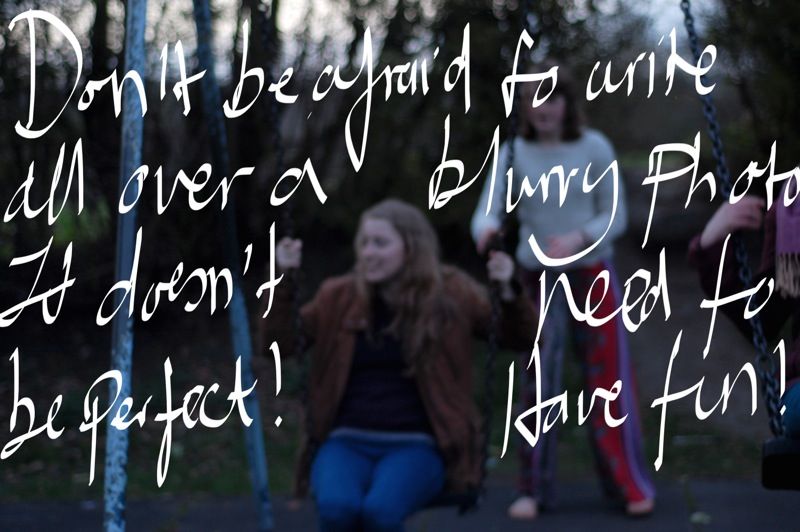
3. Write all over it! It's already imperfect friends, so go ahead and scribble on it a bit more! I used a graphics tablet to do this but you could easily use a sharpie on an actual photo. Another fun option could be to use a pin and scratch away at the edges or even bleach if you really want to change it up. In this photo I kept the writing away from the blurred outline of me to make it the focus. Even if its blurry, if you have covered the other portions of the photo it will still be the focus.


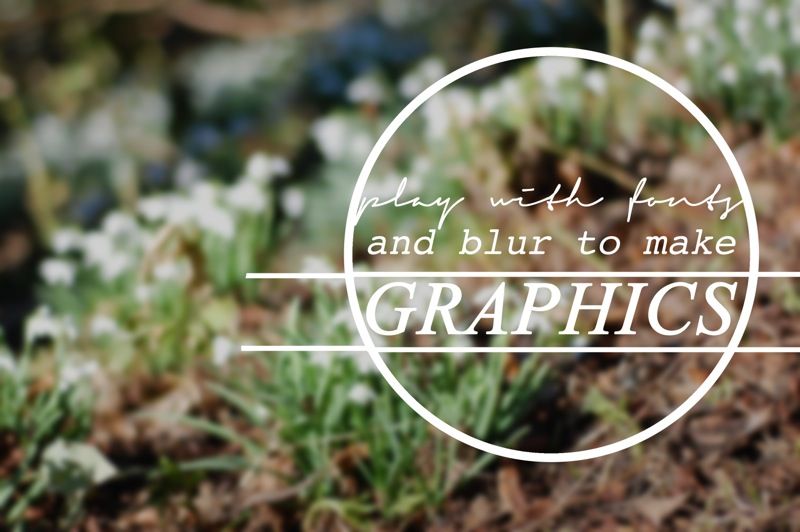
4. Make it into a graphic. I used this effect for my one my little word graphics. This photo was already blurry but I applied the gaussian blur filter to make it softer and then played around with fonts and shapes.


I have used most of these ideas in one form or another in project life over the last few months. Don't throw the blurred photos away- you never know when they may come in useful!

What do you do with your imperfect shots?