Hi
Hope you are all enjoying the festive run to christmas?
It is a tradition I have with myself each year that I will create the place names for the table on christmas day. To be honest the rest of the assembled family enjoy looking at these but aren't too fussed either way. For me though it is a chance to create something pretty and a bit different. Win win I say.
Last year I created these and the year before I created these.
Now, I try never to repeat myself so the week leading up to christmas I trawl the web looking for inspiration and ideas. I try and avoid the typical place name ideas like the small folded card etc etc!
The other day I stumbled across this.
I have developed my own idea with a few alterations on the original. Therefore this is not strictly my own idea but this is my tutorial on how to change the original design to suit my purpose.
First up grab a star template. It needs to be realtively large as the middle will hold the goodies but the pointed edges cannot really hold along. Go along the lines of the more I want to hide in the star the bigger it will have to be!
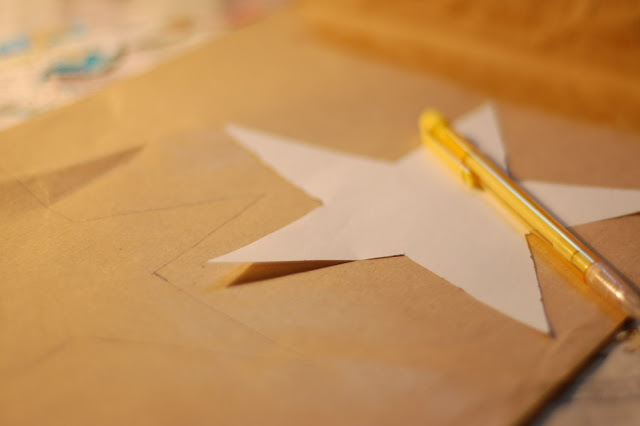
I think these look lovely on kraft but having nothing to hand I used old brown envelopes. Draw your star on the outside. Cut out and you have two pieces. Turn them inside out and voila, lovely textured brown strong paper.
Next, decorate the front of your star. I used an inital stencil I cut out from paper. I painted this on and then added two strips of coloured paper. I tried to keep to a simple colour schemes to bring unity. Don't put too much on at this stage because when you stuff them, the paper will bend so bigger items will just fall off. Keep it simple.
This is the most exciting bit. Sewing the star up. I used a zigzag stich around the edge making sure the foot was slightly off the edge so the sides were sewn up. REMEMBER to leave a gap to fill your star.
I filled each star with a celebration and a little note telling the recepient where their cracker present is hidden. (rather than toys in crackers my mum buys small presents she knows we will like and hides them around the house. After main course you go to the hiding place and find your gift.)
A little tip- don't put anything too big in as it distorts the shape of the star. I tried to add a lindt chococlate at first. Big mistake! looking back a chocolate coin would have been perfect!
Once your star is filled to your liking sew up the gap. It doesn't matter if it won't fully close, it will look fine.
I then finished my stars off with some bakers twine. I like the idea that one each plate there will be a lovely christmas package with the recepients inital and a treat inside waiting to be torn open.
Do you make anything for christmas day?
Loves xxxx


4 comments:
very cute, Abi, I always have good intentions but it never seems to happen on holidays. I do for dinner parties though.
These look great,Abi.
Awesome idea - they look great :-)
Also just wanted to let you know I've given you a Liebster Award on my blog: http://www.mummy-adventures.com/2011/12/liebster-award.html
Thanks for having an inpsiring blog :-)
Post a Comment