
Another post from my little series- Hope you are enjoying it!


Disclaimer: This is NOT a bookbinding tutorial. I am not that clever. If you want to see some fab bookbinding visit my dear friend Lizzie.
Supplies:
2 free printable chevron journaling spots from here printed on card.
1 piece of coloured card stock
5 or so sheets of plain white A4 paper.
Sewing machine (although you could sew by hand)
2 eyelets.
1 small elastic hair tie (one without the metal bit!)
Approx cost:
Most of the stuff you will probably have to hand. At most £3.
1. Print off the beautiful chevron journaling spots onto A4 paper. The journaling spots need to be touching so you can cut them out as one long piece like this.

2. Back your chevron with coloured card stock.

3. This isn't compulsory but I think it looks nice. Zig-zag stitch the edge of your chevron card. It helps to have the foot half on and half off the card so the zig-zags go around the edge holding the card together.

4. Cut your white paper into strips. The strips need to be approx half an inch smaller each side than the chevron cover. It is totally up to you how many strips to put in. Remember they will be folded in half so each strip is two pages. It really depends how much you think your sewing machine can cope with!
5. Fold your chevron cover in half and your white paper stack in half. Open up the cover again and place your white paper inside holding it in place with two pegs.

6. Turn the book over so the chevrons are one top. Zig zag stitch down the middle crease you made. Do this a few times to secure the pages to the book.

7. Fold the whole book in half again. You should now have a little spine.


9. Decorate your front cover as you wish! I kept mine simple with just a small sticker.
10. Now, this is the fun bit. You were wondering about that elastic band weren't you!? Cut the hair tie so it is no longer in a loop. Thread it through the front eyelet and then the back. This holds the book closed. Make a loose knot at the BACK of the book to hold it shut.
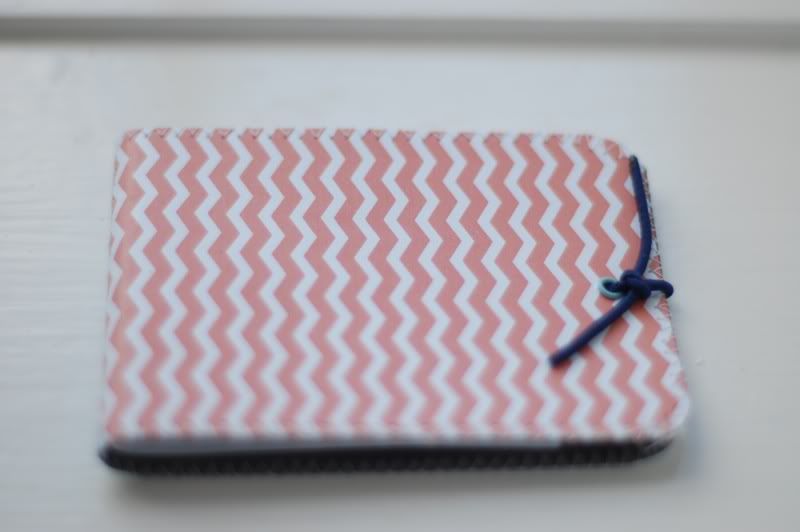
11. The front of your book should now have some elastic showing. This should be big enough to push a small pencil through and hold it in place. I know. Genius! I was amazed at my own brilliance I can tell you! (Joking.)

There you have it. One small book ready to hold all those shopping lists!
Thanks for stopping by


4 comments:
This looks fab too, Abi - you're on a creative roll! :)
i AM loving this series very much. this book is brilliant
Jo xxx
i'm working backwards......what a fabulous and effect little book..love the papers x
I came to look at Summer Photos and am having a lovely catch-up ... have pinned this clever little book TFS
Post a Comment