Showing posts with label Crafted. Show all posts

19 February 2012

An old bag

No, I am not being rude. This really was an old thrifted bag that I was given by someone who was intending to throw it away.

After some thought I figured that it could be made respectable again.


Thankfully it was quite soft leather so there wasn't too much complaining from my sewing machine. I started by cutting out the old lining and making a new one with some pretty fabric.


I sewed this into the bag and then had the issue of unsightly stitching along the top of the leather. Next step then, adding new edging and handsewing this in place on the inside.

I also added edging to the top of one pocket where the handle had been ripped out. The edging covers the rip and holds the handle in place again.


Result- one pretty, big, second hand, basically free bag. I see more projects of this kind coming on! I am thinking possibly accents in lace?

Thanks for stopping by

28 July 2011

A few little projects.

Hi

I have been busy in terms of crafty projects this week. I find the summer is a great time to embark on some of those bigger projects I have seen and saved up.

On my last post I blogged with a set of photos I had edited. I edited them in a program called be funky which was so simple to use. It has rad. effects like that instant camera frame. Minor love affair over here. I chose around seventy ( I know, I couldn't help myself) photos and applied a vintage effect to each one as well as the instant frame effect.

I printed off this collection and got started on a new wall display in my room based on something I had seen on pinterest. It was very straight forward to do if a little fiddly. I chose my favourite photos from the last few months. The result is a colourful collection of memories.

Yesterday I sat down with mum and we embarked on another little project. Every now and again I decide to update my wardrobe and that normally involves buying fabric then trying to conceptualise the idea for the new garment. My mother could have been a seamstress she is so good. I simply told her what I wanted; a gathered skirt with a fixed waistband and a zipper and she sat down with me and we had whipped it up in under an hour. No pattern. Honest.

A sweet little dolly skirt.

Finally another, yep, another, bracelet. Seriously who doesn't love summer bracelets? This tutorial can be found here. Uber simple, very effective.

What crafty projects have you been up to recently?

Thanks for stopping by

Loves xxxxx

24 July 2011

putting the pictures into action.

Pinterest. My love affair ( the boy doesn't really understand!). I have a whole board devoted to craft DIY. There are literally hundreds of projects I see everyday and think "oh, I could make that."

I figured though after looking at this that I had better stop browsing and dreaming and actually put some of those pictures and ideas into action.

So, I saw this and fell in love. It isn't actually a DIY but a canvas for sale. It is beautiful but rather expensive so I decided that it couldn't be too difficult to make myself.

I simply stuck a piece of 12x12 on thick cardboard and got out my letter stickers. Thickers work very well for this ( I grudgingly admit) as well as large chipboard letters. I also used fairly flat stickers for a more subtle effect.

A word to the wise, try and use pale coloured stickers otherwise covering them in cream paint is a long job! I stuck my words on in vague heart shaped patterned and got to covering them in magnolia wall paint. Really easy and relaxing and voila a simple wall hanging which I am intending to frame for a fraction of the price of the original.


This was something else that I saw and fell in love with. This is linked to a comprehensive DIY.

A very easy make. I used coordinating patterned papers on the wooden blocks and then rather than put photos on them I put letter stickers. The pictures would be a cute idea though!

Is there anything you have found on pinterest and made? I would love to know!

Thanks for stopping by

Loves xxxx

18 July 2011

Garlands and Tutorial

Hi

I have recently moved house and when a girl is faced with a new room she has to decorate right?
As seen from previous posts my addiction to bunting knows no bounds.

Well the addiction for garlands I think may be eclipsing that, especially now I have joined pinterest and seen so many lovely things to make.
Garlands are light, easy to string up, pretty and quick to make.

This is my take on a really simple pinwheel style.

1. First to make the strips. I used a second hand book and took a page at a time and cut it in half lengthwise. You will need quite a lot as three strips make on pinwheel.

2. Concertina fold the strip until it looks like this.

Then fold in half and glue together.


3. Once you have made three of them you can see that together they make a nice circle. Again glue the outside fold of one to the other to join them up.

4. Any sort of twine or string works for this project. There should be a small whole in the pinwheel so push the twine through this.

5. For added colour I then cut out circles of a floral patterned paper and sandwiched the twine inbetween them like so.

6. Voila! A pretty garland.


Garlands look beautiful strung up above windows so when the breeze blows they flutter gently.

A lovely summer addition to a room.


Thanks for stopping by

 Loves xxxxxxxxx

20 June 2011

Crafted bracelets

 Hi 

True to form I have started on my summer goals.

Red nail varnish- check.
Crafted bracelets- check.

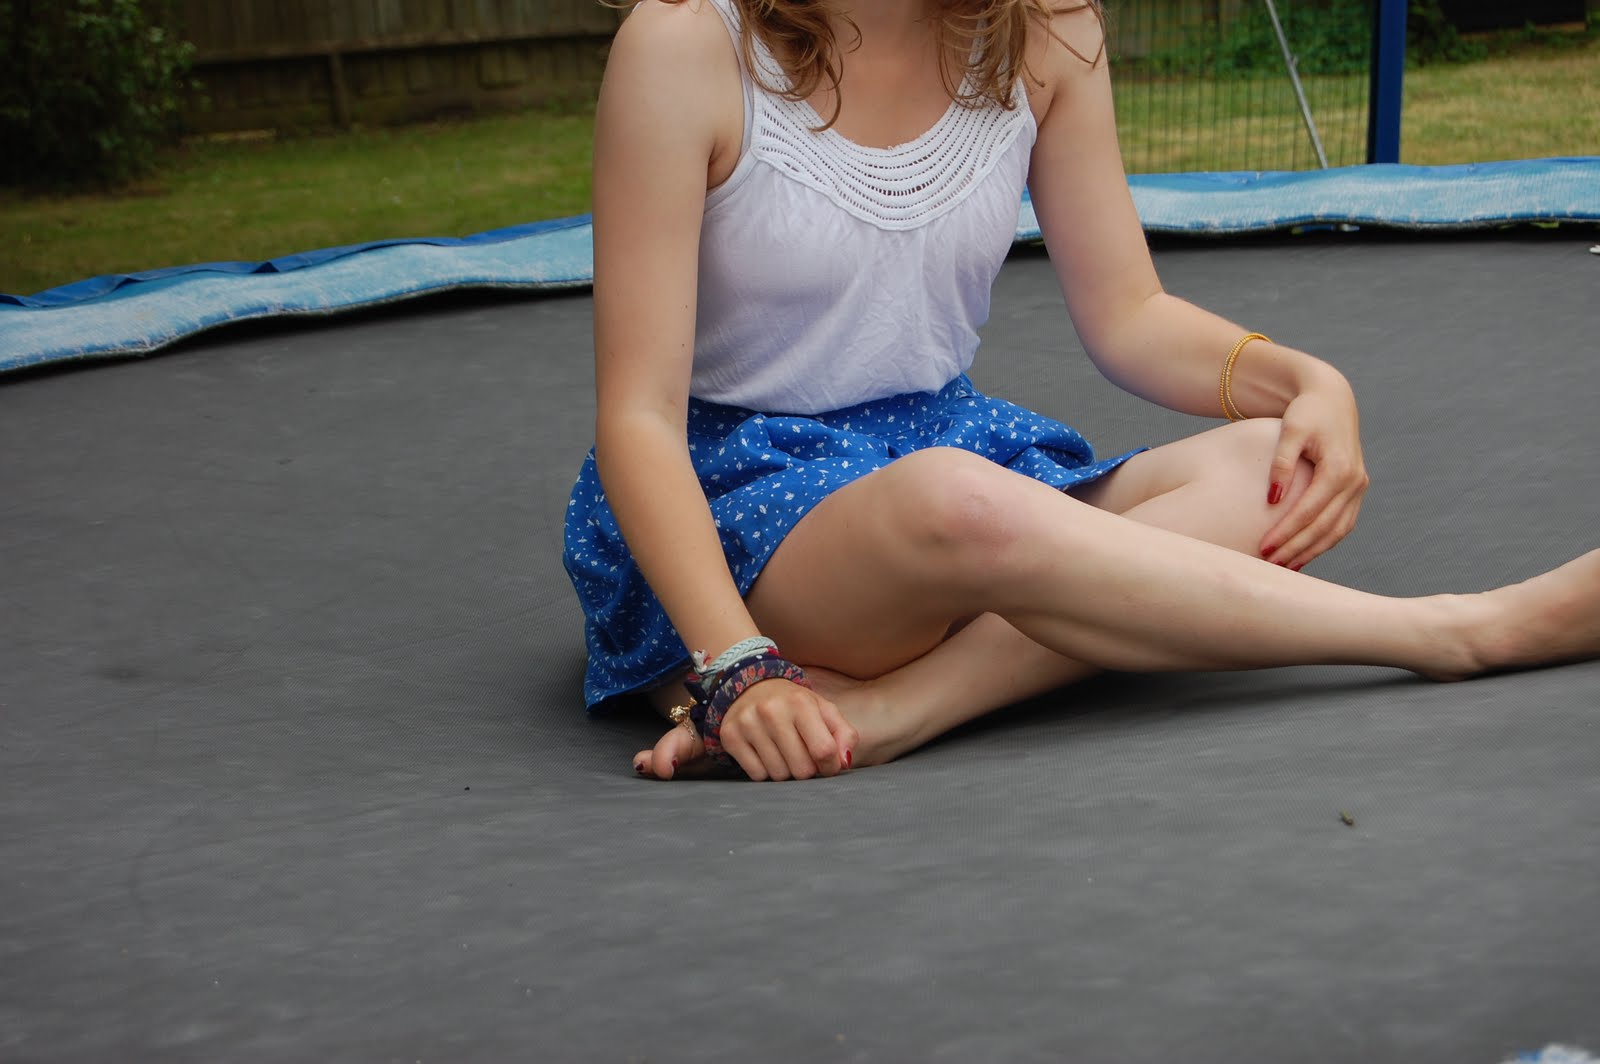
I have had such fun playing around making these the last few days. All are so easy and in most cases super quick.

Blue fabric bracelet- my own design. Simply make a tube of fabric right sides together, turn inside out. fold in half lengthwise then half again. Tie and knot.
Square knot bracelet- tutorial here. Very quick and easy.
Nut bracelet- here. Bit more fiddly.
Friendship bracelet- here. takes quite a long time.

You may have noticed the blog has had a little facelift. What do you think?

Thanks for stopping by

loves xxxxx

1 June 2011

Simple equations

The problem: Bunting is beautiful
Bought ready made is expensive

The Solution: Crafting is fun
Making is quick and cheap.

Simples!

I am an an unashamed bunting lover and also an unashamed teenager who's bunting love does not extend to her purse.

What to do? raid the box of fabric cut offs and russle something up.

The result is a new love affair with miniature bunting. Envision tiny little triangles trailing all the way round the room! In love!


This bunting is so simple to make. I didn't use a template just simply cut out triangles from eye. The result is a quirky mix of sizes and patterns. I then fed them one by one through the sewing machine in exactly the same way I did this tutorial.

*warning- limit yourself on the number of sweet little triangles you cut out because if you are anything like me, you will keep feeding them through the machine until you have miles of bunting (which isn't necessarily a bad thing!)*

Thanks for stopping by

Loves xxx

8 April 2011

A Patchwork in numbers

3 different materials
49 handcut squares
each one 5x5 inches
40 ish pins
2 cotton reels
6 days start to finish
1 piece of batting
4 border strips sewn together
1 old sheet used for the backing- genius!
3 bobbins of cotton used up.
2 different tutorials combined. Found here and here.
1 major calamity regarding a border and uncooperative corners!
1 understanding mother who fixed said calamity.
3 very pin-pricked fingers.
2 (ish) hours hand sewing the back of the border

10.30 pm, 1 finished, slightly wonky, nice and soft, colourful quilt
and...one very chuffed girl who has plans (much to her mothers constination) to make one to fit her whole bed. Watch this space!

Thanks for stopping by

Loves xxxx

28 March 2011

Patchwork dreaming


Thanks for stopping by

Loves xxxxxx

20 February 2011

Creative endevours

Hi All

Back home for half term. Its' lovely to be back and have lie-ins! It's also nice not to have too much work so I have plenty of time for scrapping and other crafty projects.

Speaking of which I have a few to share with you. Yesterday the boys of the household went out to look at a few cars in the showrooms whilst me and my mum sat down to make a new skirt! A rather steryotypical afternoon then!

There is a lovely material shop near to school which I visit in term time and stock up on pretty material. My Mum is a genius at making up patterns and has taught me a lot. I wanted a skirt that was high waisted with a fixed waistband and buttons down the front. It was very simple to make and took only a couple of hours, the longest bit to do being the hem! (mum insists that I hand sew it!)

So..this is the finished result. I love how it turned out. The material is so pretty- almost a liberty print. It came with a contrasting panel so I used this to make the waistband and cover the buttons.


 My next project was to make a cowl. I have seen loads of these in the shops and after a bit of close examining I figured they wouldn't be very difficult to knit. I chose a lovely chunky wool and size 10 needles. It was so simple. I cast on around 110 stiches and then knitted in garter stitch till I was happy with the height. I joined the two ends by sewing and voila! A lovely warm cowl for those chilly days!

What have you all been up to other the weekend?
Thanks for stopping by

Loves xxx

18 January 2011

Crafty room

Hi

I'm sorry, I went a bit AWOL! Start of term is always manic and getting back into a routine takes some getting used to after wakes up at 10am in the holidays!

So the term started pretty well. Thrown back into work with a vengance! I have an exam in 9 days time so am revising for that. It is an A2 rather than a re-sit so hopefully if I get a good enough mark that is one less to do in the summer. Cross fingers!

My favourite sport rowing has started this term which is fab! It has rained non stop since we have been back though so the river is very very high. Not much chance of actually coxing then! Instead I help with coaching new rowers, practicing calls on ergo tests and basically being miss motivator!

So... I thought I would post a few pictures of my home touches in my room. Some I made at home, some I made at school. When you are boarding its really important to try and make school feel as homely as possible. As I can't do much crafting at school, I figured I could just fill my room with pretty crafty stuff...


At the end of last term I got really into making these origami peace cranes. They are very easy and very addictive. They would probably look better in pretty scrapbook paper but that was not on hand! i strung them together with cotton and hang them up to float in the breeze by my window. There is a great tutorial here.
I showed these flowers a few posts back. They are so simple to make by layering up circles of paper and then scrunching them. I put a brad through each one and then twisted them around this beautiful twill measuring tape. They hang off my bookshelf.
My creative outlet at school is knitting, This chunky wool is so lovely. I am trying to make a cowl to wear as the weather stays cool. Its knitted on huge needles so should be finished reasonably quickly!

Little touches that make my room mine! I thought just briefly I would also share my latest purchase..
They were a bargin at £10! I bought them for my spring ball (which isn't actually in the spring!) to go with this which was also in the sale...

That is as much as a clue as I am giving now! You will have to wait for the night to see full pictures of the boy and I all dressed in our finery!

Hope you have all had a lovely week. Thanks for stopping by!

Loves xxxx