Hi
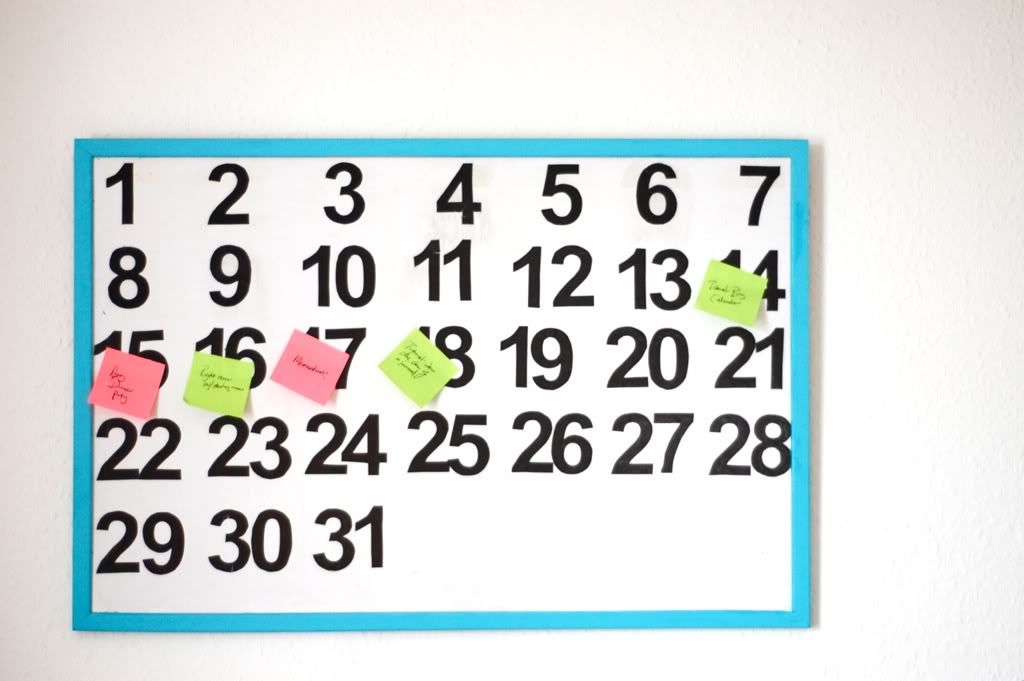
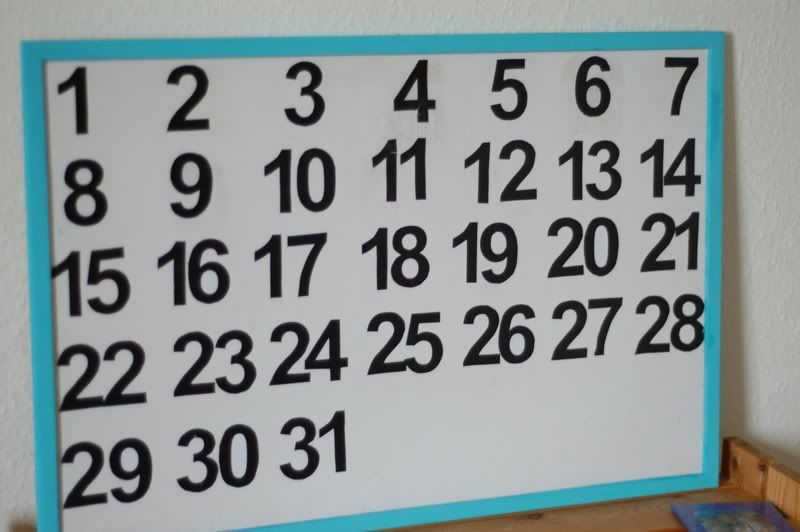
Today I want to share a quick make with you. This was inspired by Elise Blaha. On her blog she showed the wonderful calendar she uses to plan her blog posts. I knew that I couldn’t buy something like that in England so had a brain storm and decided to create my own.
This is a great tool if, like me, you tend to schedule posts.
You will need:
Tacks or nails.
An A3 (ish) sized whiteboard. I got mine from Tesco for £3.50. It doesn’t necessarily have to be a whiteboard, but you need a solid base with a frame. A whiteboard also gives you a prepared clean background.
A tester pot of paint in matt or any paint that will go onto wood well.
Printed sheets of numbers to thirty one. I used arial in bold with a font size of 200.
Watered down PVA glue or modge podge
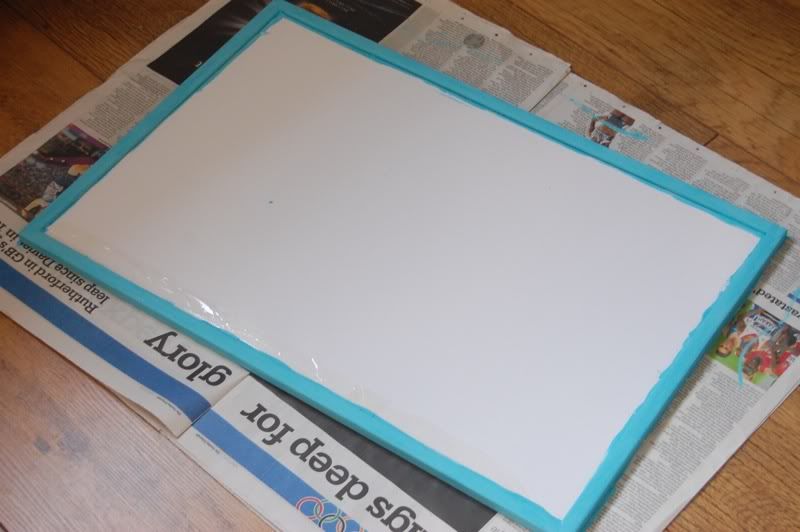
1. Paint the edge of your frame. I chose a zingy blue. I wanted by planner to look very graphic so tried to make my frame a solid colour. I coated it in two layers of paint. Before you paint it is a good idea to tape off the edge of the board. I didn’t bother with this stage as the whiteboard was shiny. Any paint that dried on the board itself could just get scraped off afterwards.
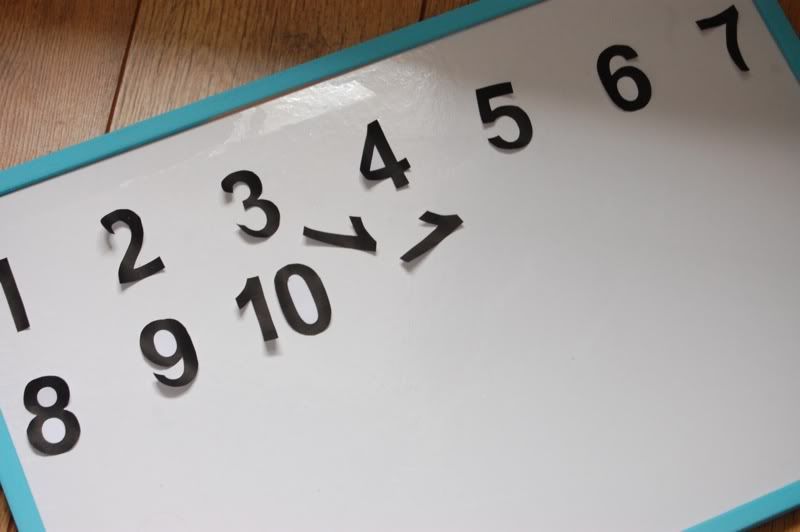
2.I used a computer to print my numbers. You could easily buy them but I found that the cost rocketed up. Instead I chose the longer, but cheaper, option and hand cut them. Don’t bother cutting the inside of the numbers out (like the middle of the eights). If the board is white, they won’t show up.
3.Arrange your numbers on your board. I decided not to add the days. This meant my planner wasn’t confined to one month. I wasn’t too fussy about how straight the rows and columns were so my numbers are a little squiff but you could easily take more time over this!
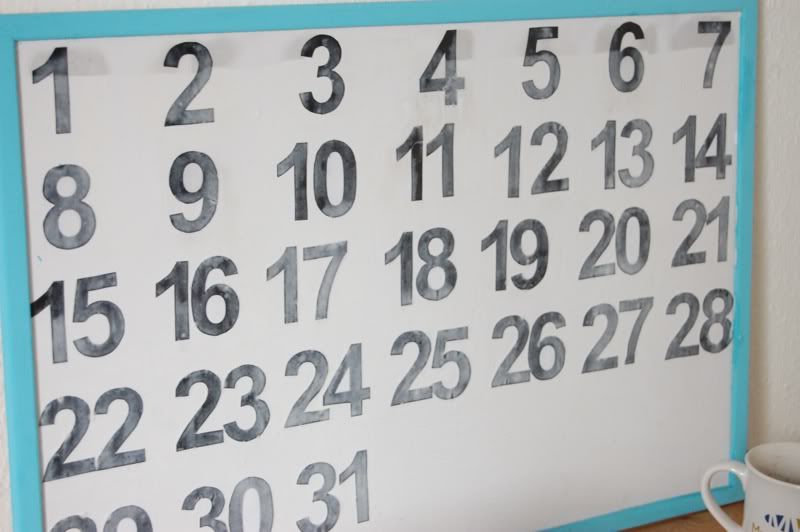
4. Grab your watered down PVA and a paint brush. Glue each number down and then brush the glue over the top to seal it. The glue goes on white but dries clear.
5. Leave to dry and then hang. Beautiful!
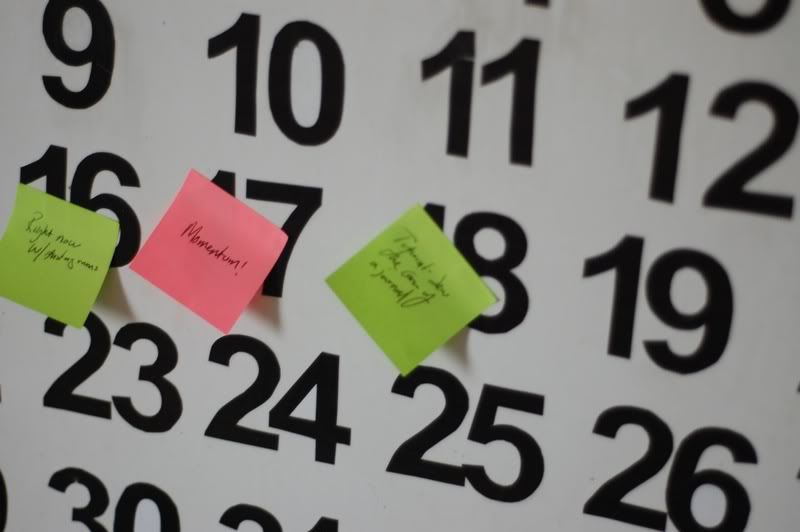
6. I follow Elise’s tips and use post-its to plan my blog posts. I write the title of the post on the note and stick it to the appropriate date it will be published on. Green are blog posts, pink are events. I know. I know!
This was a very easy and very cheap make. It could be easily adapted for a more proffesional look, using number stickers instead of printed paper. You could also cut out the days of the week and blue tac them to the top and move them depending on the month.
Thanks for stopping by




1 comment:
brilliant idea and tutorial abi, thanx for the info, i need to find ur tute on how to make a facebook header next,
jo xxxx
Post a Comment