23 April 2013
A reminder and an invite
I'd love you to have tea with me. Whilst I would like to have the real kind with you I'm afraid the virtual is going to have to do.
On Saturday the 27th I am going to be sitting down with my cuppa and telling you what is going on in the merry world of Abi.
I would be delighted if you joined me for a mug or two and maybe even a slice of cake. You are very welcome just to listen but I am rather nosy so you are more than welcome to share the comes and goings of your life as we sit (virtually) together.
As usual I will add a linky to the end of my post so if you fancy sharing a cup of tea, a pot of coffee, a glass of wine or even something a bit stronger on your own blog, add it to the link and we can all pop by and say hello.
I am looking forward to our tea date. Hope you are too!
Last months tea post can be found here. I am planning to post this meme on the 27th of each month so there is a tad more continuity and you are a bit more pre-warned if you would like to join in!
22 April 2013
Life right now according to instagram
How I love this little tool. My phone is slowly dying so instagram is proving harder and harder to get working. I am determined though to record those little moments.
So here is what has been happening in the last month...
Top row left to right: The revision started, I had a play around with weaving, the cat decided the floor pillow was the best place to sleep.
Middle row: My brother forgot how to use a space hopper, we celebrated that Christ has risen, we made a fun easter cake.
Bottom row: A tea shop in library-love! Starting on a new project and homemade bread.
Top row: The tape machine ate my Harry Potter tape! I waited at a lot of stations this month complete with my Mary Poppins carpet bag!
Middle row: Friends visited from Durham which was so lovely, I caught up with a very special friend from school and spent time with my favourite person.
Bottom row: I worked on a complicated project life, I made pom poms with a fork and finished the quilt!
That was the end of March and April! Phew! What has your month looked like?
20 April 2013
Tips for quilting...
Thank you so much for all your kind comments about my film on quilt making.
I have made a few quilts now and have learnt a few things although lots of these aren't specific to quilting!
1. Keep an open mind. Unless you are a professional or have a lot of money, or maybe even both, your quilt will not look like that one on pinterest. It just won't. Go into quilt making having an idea of what you want to create but be prepared to put those to one side.
It's like clothes shopping. You can guarantee if you are specifically looking for a blue skirt you just won't find one (or is that just me)! A case in point, I was set and totally sold on having a black and white striped binding on this quilt. I went to my local fabric shop and they didn't have any striped fabric. I instead chose this red gingham and really like how it turned out.
2. Trust your instincts. My preference for colours may be totally different to yours but if I am making a quilt for myself I will trust what I feel is instinctively right. I guess it is the same with scrapbooking and being creative. If those colours and patterns work in your head then they will most probably work on paper or on fabric. It is better to go with colours that make you happy than choose fabric etc that you think is good because you have seen someone else use it.
3. Cut precisely. The worst thing when you are sewing your pieces together is to have to battle with wonky cutting. I am literally the worst at this and it has taken four or so quilts for me to work out that it is money well spent to invest in a cutting board, ruler and rotary cutter and take time over it!
4. Keep it simple. I used a different process for making this quilt. It's called quilt-as-you-go and I used this tutorial. Because I was using a new technique it made sense to go with what i know. To stick with simple rectangles. Simple is always good in the beginning.
5. Use an iron. My least favourite part of making a quilt is pressing all those seams! Such a dull task. But, it really does pay off in the finished look of the quilt. If in doubt press it out. And use steam!
6. Use the chain sewing method for piecing. This is hard to describe but it very simple and speeds up making a quilt. Rather than sew your pieces separately, pin a stack and feed them through the machine one after the other like you are making bunting. This is a better description but it is worth looking into if you are thinking of quilting.
7. Do it a bit at a time. I guess this comes back to keeping an open mind but unless you are really determined a quilt won't be finished that quickly and if I am honest, the piecing together stage does get a bit dull. Take breaks, set small goals, change things up and do the quilt in small sections. It makes it far less of a daunting task.
8. Label. When you have all the pieces of your quilt cut and laid out on the floor the worst thing is when the cat walks in and muddles them up. Not that that has happened to me. Label folks! I pin sticky notes to my quilt pieces saying silly things like "I am on the top row second from the left". It helps me anyhow. It also means I can pack the quilt away and know that the pieces will be in the same place. I also take a lot of "in process" photos which also help.
9. Supplies. This is totally a personal preference but I use low loft (thin) batting rather than the puffy stuff. I find it goes through my machine better. I also stock up on more cotton thread than I think I will need. The worst thing is to finish a reel and realise you have to go out and buy some more.
10. Be prepared to make sacrifices. This comes with the territory of crafting but sometimes things have to be let go. For example I always get flustered if my backing fabric bunches a bit at the edges. In hindsight, this really doesn't matter, the quilt is just for me and I will probably never notice that when it is on my bed. Another example, when I bought my fabric I chose a nice coral polka dot as well. When I had cut my pieces I knew it just didn't look right so I had to lay it to one side. Annoying yes, but I think the quilt looks better off without it.
Phew! That's a lot of stuff but each time I make a new quilt I learn new things, new techniques and come across new problems. My quilt is a long way from perfect but it is right for me.
Have you ever made a quilt? What are your top tips for quilting or for crafting in general?
18 April 2013
Evolution of a Quilt- A short film.
I am so excited to post this! Whilst working on my quilt I was also working on filming and photographing each stage in the hope of making a bit of a home movie.
It has been so much fun to create. This is really my first step into very basic film making so it was exciting to play around with different effects.
All of the stills are taken with my SLR and the film segments on my phone (the quality isn't too great but it works ok for this!)
Enjoy!
Evolution of a Quilt from Abigail Beach on Vimeo.
Music: One republic "I lived"
17 April 2013
Project Life week 15- the process
Week 15 and I thought it would be fun to share a little of my process.
To start let me say that I am fully taken with first the project and secondly the digital way of doing it. That is not to say that I don't like the paper version but for me and my life at the moment, digital PL is working well.
First up, normally on Sunday evening or Monday morning, I sit down and work out the photos for the week. I store my photos on iPhoto by month so just upload straight off the memory card and into there. It's pretty easy to remember which ones were taken on the last week.
I also open up ink 361 and save all my instagrams from the last week into iphoto too. These two processes give me a pretty good idea of how many and what photos I am dealing with that week.
Apart from this week which I will talk more about in a bit, I don't plan my pages. I open a photo and make a few decisions. Where is it going to go on my layout (small photo or big), does it need added detail like a wrap around tag or a bit of handwriting or does it need a separate journalling card to fill in the story.
I then go through the same process with the journalling card. Which card best fits the photo tends to be the general train of thought- nothing too scientific over here!
I then work out where the spaces are and fill them with either a pop of colour, a sentiment or a quote.
Sometimes I am stuck for space and then I will add normally an instagram to a journalling card as I have this week, or crop a few photos and add them to a 6x4. If I want a photo to make an impact I spread it across several slots as I did last week.
I tend to work on it over an hour or so. I don't really like leaving a page and coming back to it although that inevitably sometimes happens!
This week though was different. My uni friends were down for the week and I met up with several other friends and the boy. I therefore had lots of pictures and lots of things I wanted to journal. I decided the only way to work it out was a plan. I plugged in spotify, got out the graphics tablet and worked something out.
I am happy with how it turned out. I don't think I would do it every week but it was fun to chronicle each day like this. I also like how the pages run on from one another.
So, nothing extraordinary about my process but it works for me.
If you do project life, what is your process like?
15 April 2013
On the hilltops
It's after supper.
We are sitting around the table, full from homemade shepherds pie and apple crumble- the staple of British comfort food.
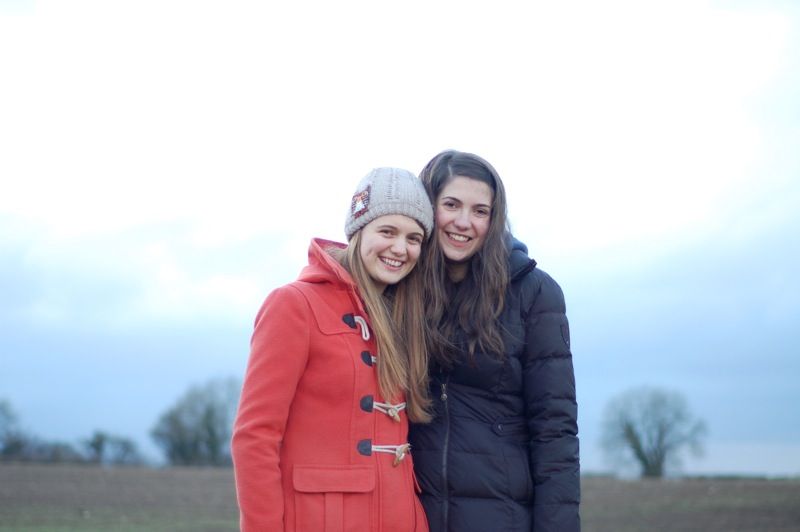
My friends from uni are here. We grin at each other, glad to be together again, to be sharing a part of our lives with each other, for me to be sharing home with them.
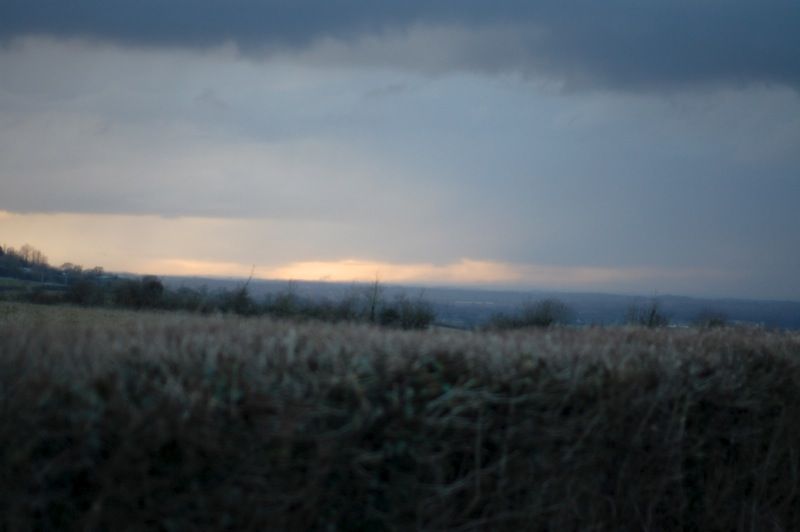
The evening sun streams in. It is glorious to have these extra hours of daylight now after six. For the first time in what feels like weeks the weather is good. The temperature is rising and there is a break between showers.
It's too good an opportunity to miss. The girls and I search through the cupboard finding the obligatory collection of wellies, finding ones that fit, ones that we had forgotten we had. We grab cameras and coats and set off with purpose. Determined to beat both the sunset and the rain.
We pace up the hill. The air is still and the ground is boggy from the wet week. We take photos as we go. We climb up the hills, the view getting better with each ascent.
We laugh together, we chat about Durham, about friends, about plans, about dreams.
We don't really know the route, we just keep following the field upwards and over each stile. We pause for a minute and take in the view. My home.
The sun is sinking lower as we climb over the last fence and join the road leading to the reservoir. A secret gem in the middle of nowhere. A huge expanse of water hidden by the trees. I like this place. In the fading light it is both eery and magical.
We quietly gaze over the water and then turn and head for home, arms linked, sun now nearly behind the trees and the first fat drops of rain starting to fall.
Today I am joining in with Alexa's beautiful meme, "Simply a Moment." Do stop by her blog to read both Alexa's words and other bloggers as they record their moments.
11 April 2013
Let's talk editing...
Do you photo edit? do you believe in photo editing?
I thought it would be fun to share a bit of my editing process for photos that go on the blog or in project life....
I am not a big fan of lots of editing or jazzy effects but these are purely my tastes and I strongly believe there is no right or wrong way to edit a photo.
So. I organise my photos in i-photo. It is pretty simple to use and I can organise them by month. Once my photos are uploaded I work out which ones I am needing for upcoming blog posts and then on nearly all of them I do a few things...
Firstly I open them to be edited. In iphoto click on the photo then on edit at the bottom and then to adjust. These effects are not limited to iphoto. Almost any good photo editing program will give you these adjustments.
The "Levels" control is the tool I use on nearly all my photos. It probably gives the most control over exposure and light levels. The easiest way to think of it is that the left hand slider moved inwards will boost the contrast and make it darker and the right hand slider moved inwards will make it lighter. The middle slider does the same but a more subtle effect. (That is probably the worst explanation in the world but that is how I think of it!) Essentially you are wanting to move the two end sliders so that they are closer to the mountain peaks!
I have found that on most photos only a tiny adjustment is needed. As you can see I have moved the two end sliders in to the middle and the middle slider to the right and it changes the photo from this...
to this. It literally takes two seconds to make your photo pop.
Nearly all the photos I post on the blog have had a tiny levels adjustment just to make the colours stand out.
Sometimes I will crop a photo in. This doesn't happen too often but if I get a photo like this where the subjects look a bit lost I will make a tighter crop...
On special photos and for some photos on Project Life I will pop them through photoshop. I like to think of this as more artistic license! Sometimes I put my own effects on them but more often than not and because I am lazy I run them through my favourite actions (essentially a set of photo filters). I get all my actions from here.
So not really rocket science, not really groundbreaking, but a few bits of technical wizardry and a lot of playing around!
Do you edit photos for your blog? How do you do it?